Maintenance steps and tips using the VX rotary lobe pump as an example
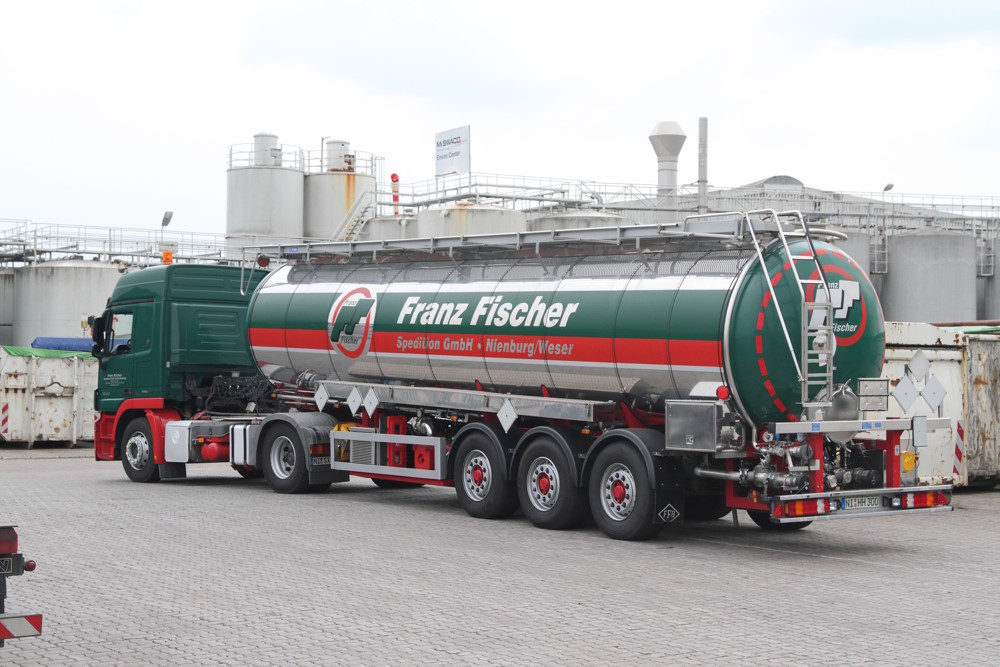
Whether for application on tankers, self-propelled vehicles or at the slurry pit on the farm, the pumping technology in agricultural applications must reliably pump the liquid manure and be insensitive to foreign matter such as fibrous matter, stones, ear tags or claw blocks. To ensure that it works reliably during the slurry season, it should be serviced regularly.

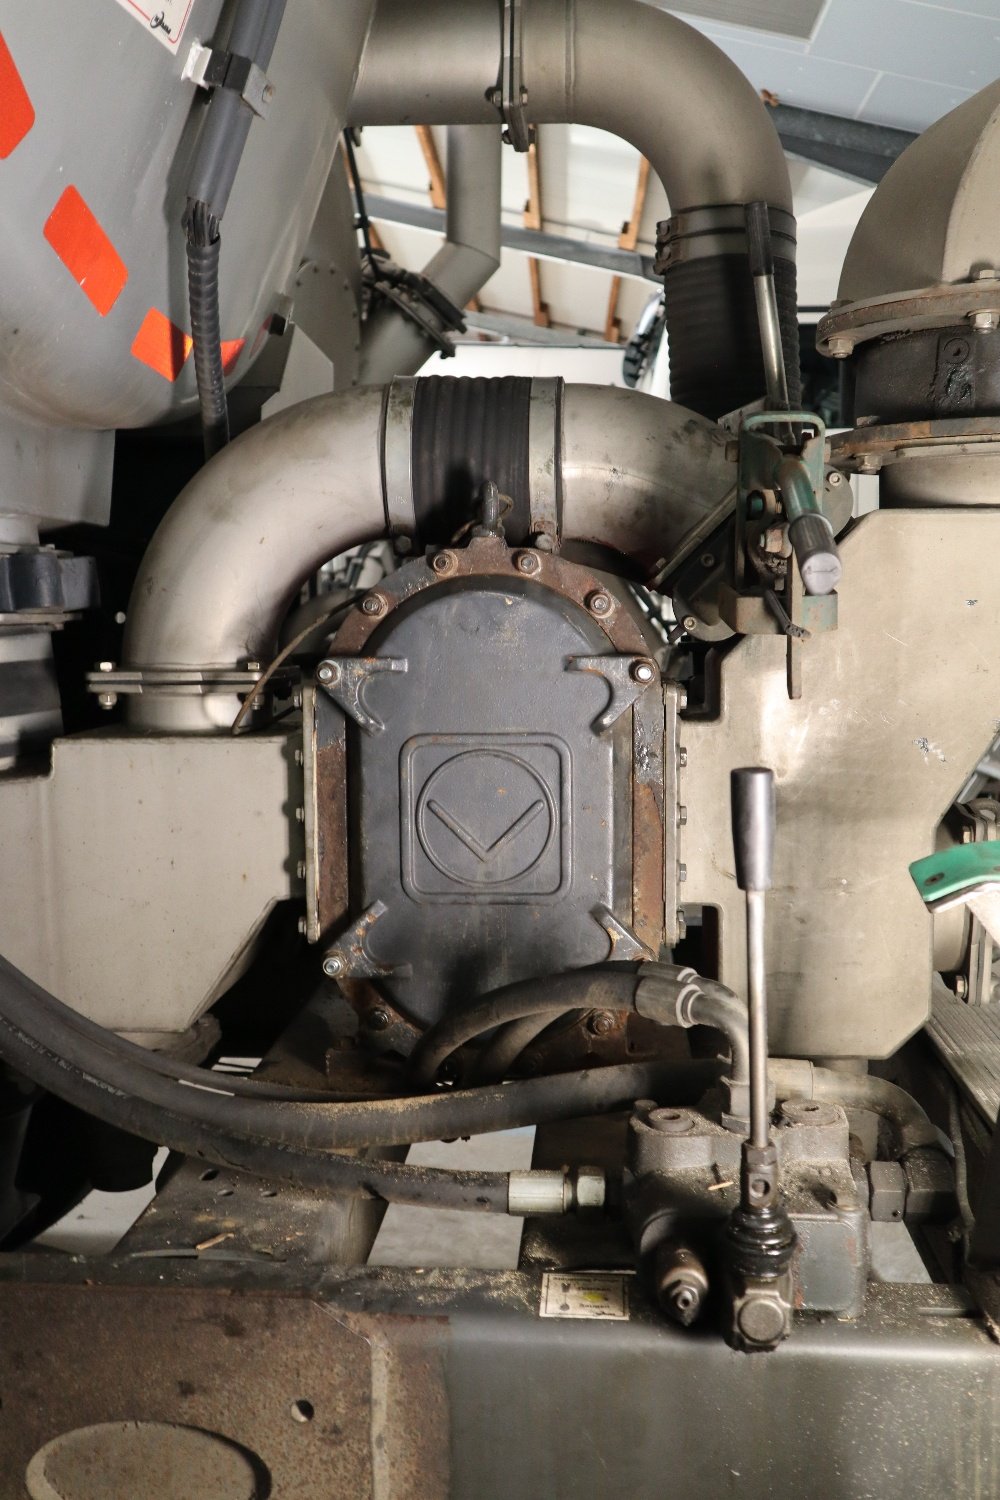
Using the Vogelsang VX186-260Q rotary lobe pump as an example, we will show you what is important when it comes to service. Thanks to the QuickService design, service work can be carried out quickly and easily on site. It is not necessary to disassemble the pumping unit. All you have to do is remove the cover of the rotary lobe pump to access the most important components. In most cases, these include the patented HiFlo pistons and the axial wear plates.
1. Drain the pump
For service, first switch off the pump, release the pressure from the tanks if buffer fluid tanks are present and shut off the connected pipes. To drain the rotary lobe pump afterwards, open the drain cocks on the pump connector.
2. Open the pump cover
To be able to carry out maintenance work in the pump chamber, for example to change the rotary lobe and gaskets, you must dismount the cover. To do this, loosen the four hexagon nuts, remove the cover and remove the O-ring. You can now drain the pumping completely.

Our tip: Do not unscrew the cover completely, but loosen the lower nuts first, loosen the upper nuts slightly and pry the cover open from below using a wrench. This allows the medium to drain downwards and makes less dirt.
3. Use a rotary lobe puller to change the rotary lobe
Rotary lobe pullers facilitate the replacement of rotary lobes. To remove the upper and lower rotary lobe at the same time, use two rotary lobe pullers.

4. Remove and clean the rotary lobe
To disassemble the rotary lobe, loosen the strain bolts and press off the pressure disc with the piston pullers.

Hook both puller arms into the groove in the rotary lobe, retighten the hexagon head bolts from the puller and tighten the pressure rod.
Pull the rotary lobes off the upper and lower shafts evenly and check them for damage and wear.


Our tip: When dismounting the strain bolts, we recommend placing a cloth between the pistons to prevent them from turning any further.

5. Replace axial wear plates
Once the pistons have been removed, remove two more bolts. The axial wear plate at gearbox side can then be removed. Both wear plates - on the cover and on the gearbox - protect the pump chamber from wear. If they are worn, they must be replaced.


6. Replace the Cartridge mechanical seal
First clean the contact surface of the wear plates thoroughly. Then remove the fitting keys, the shim and the O-ring behind it from the pump shaft.
Now unscrew the two grub screws from the cartridge support and insert the cartridge gasket removal tool. Bolt the two cylinder head bolts into the boreholes of the gasket and then tighten the three hexagon head screws alternately.
The Cartridge gasket can be pulled out evenly. Once the gasket has been removed, pull out the last O-ring. Attention, this is often forgotten and can lead to leakage if installed twice. Then clean again.


Our tip: Clean the contact surfaces before pulling out the gaskets. This ensures that less dirt gets into the sealing chamber.
7. Reassemble individual components
To finally reassemble the individual components, grease a new large O-ring and reinsert it in the direction of the gearbox. Lubricate the O-ring on the Cartridge mechanical seal. Then push the Cartridge sealing package back into the pump. To do this, use the same tool that you used to remove the cartridge gasket.


During reassembly, place the gasket straight into the bearing seal housing. The Cartridge gasket should only be pressed on as far as the resistance. If it is pressed beyond this point, the O-ring may slip or the gasket may be installed at an angle.

Our tip: Slide the O-ring slightly raised over the recess of the fitting key. This prevents damage to the O-ring from the sharpened edges.

Now insert the wear plate. Pay attention to the correct orientation. A sticker on the wear plate notices which side should point into the pump chamber.

Then insert the pistons: Ensure the correct orientation here too, so that the Q-turn of the rotary lobes points towards the cover.

Pull the new O-ring around the pressure disc and drizzle the shaft and thread of the strain bolt with oil. Now insert the pressure disc and new strain bolt. To do this, place a cloth between the pistons again. Observe the torques specified in the operating instructions. Then fit the cover including the wear plate and O-ring.

Our tip: Mineral oil or grease should not be used for O-rings made of the rubber-elastic material EPDM. Glycol is a good alternative.
8. Test the seal chamber
Bolt the seal chamber container back onto the seal chamber and pressurize it with approx. 2 bar (air pump). If the service has been lead-through properly, the pressure in the sealing chamber container will not drop. You can then proceed with closing the pump. To do this, first outlet the pressure from the sealing chamber container again.
9. Fill the seal chamber
Finally, fill the seal chamber with buffer fluid, fit the buffer fluid tank and fill it up to a quarter full with buffer fluid. This step is not necessary if the gaskets are designed for a "dry seal chamber". The fluid lubricates and cools the shaft seal to prevent the gasket from dry running. Finally, the seal chamber must be pressurized again for a pressurised seal support system.

10. Top up gear oil
In the final step, the gearbox is refilled with gear oil. The pump is now fully operational again and optimally prepared for demanding agriculture applications.
Do you have any questions?
We will be happy to advise you! With our high-performance liquid manure spreading technologies and innovative components, we at Vogelsang offer a comprehensive portfolio of solutions for economical liquid manure management - from conveying and disintegrating the liquid manure to precise, low-emission distribution and nutrient-efficient use.
Find out more:
Vogelsang agriculture technology
-1.png)