Fit for field use – Maintaining liquid manure spreading technology: Is your liquid manure spreading technology fit for field use?
To ensure that liquid manure spreading runs smoothly and efficiently, we recommend regularly checking the functional capability of the spreading systems. In addition to the booms themselves, important components such as the precision distributor should also be put to the test. This ensures that the liquid manure is spread evenly over all the discharge hoses of the respective spreading system – precise liquid manure spreading made easy. High distribution accuracy ensures uniform fertilization and thus uniform plant growth.
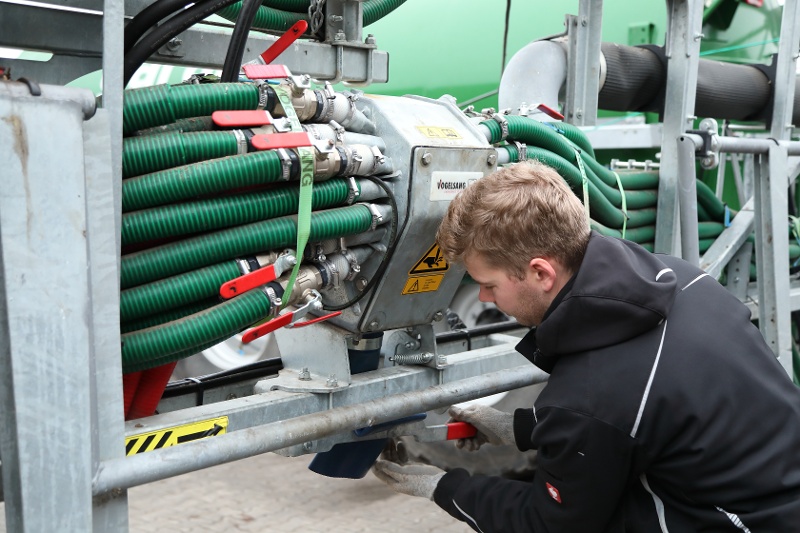
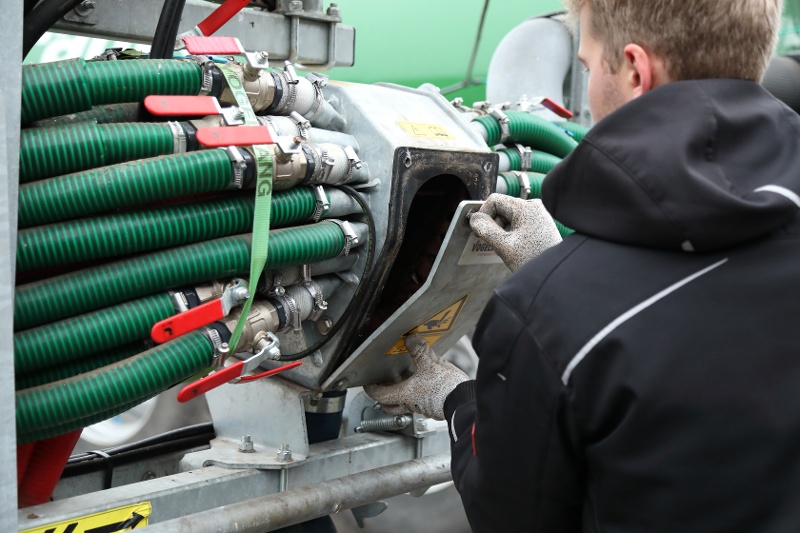
Using the Vogelsang precision distributor ExaCut ECQ as an example, we will show you the most important maintenance steps. In our example, the ExaCut ECQ is installed in the Vogelsang dribble bar system SwingMax with a working width of 21 meters.
The ExaCut ECQ received an award in the DLG test for its serviceability and can be serviced by one person in a very short time thanks to the QuickService concept. The large maintenance hatch allows direct access to all relevant parts – without disassembly from the dribble bar system.
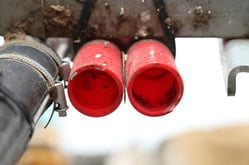
1. Clear stone trap
The foreign bodies such as stones or metal parts contained in the liquid manure are separated out by a heavy material separator. You can easily remove this heavy material by simply opening the stone trap
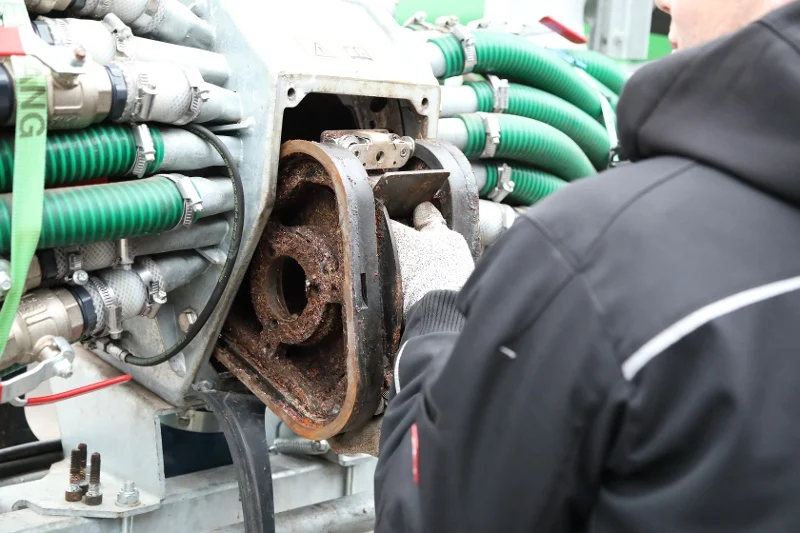
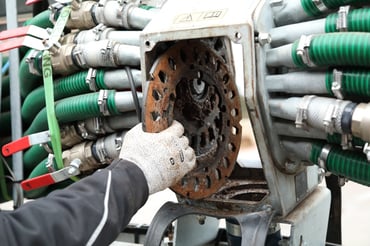
2. Remove rotor
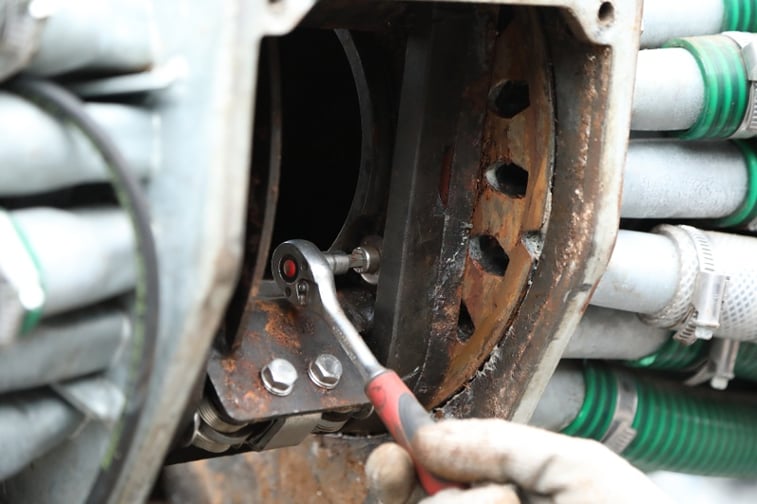
To service the wear parts of the distributor, open the maintenance hatch and fold down the rubber seal. Now you can turn back the eccentric adjusters and thus release the pretension between the cutting parts.
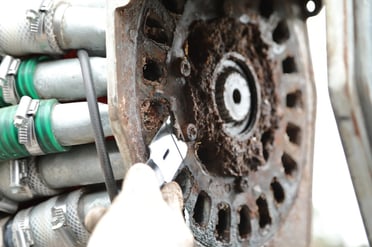
To do this, turn the eccentric positioned on the left to the right and the right to the left using an allen key.
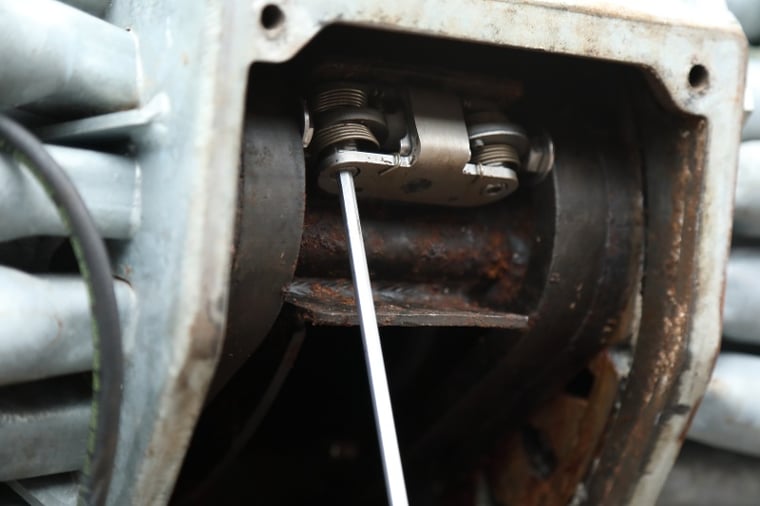
Then simply turn the rotor to reach the other eccentrics and loosen the central screw.

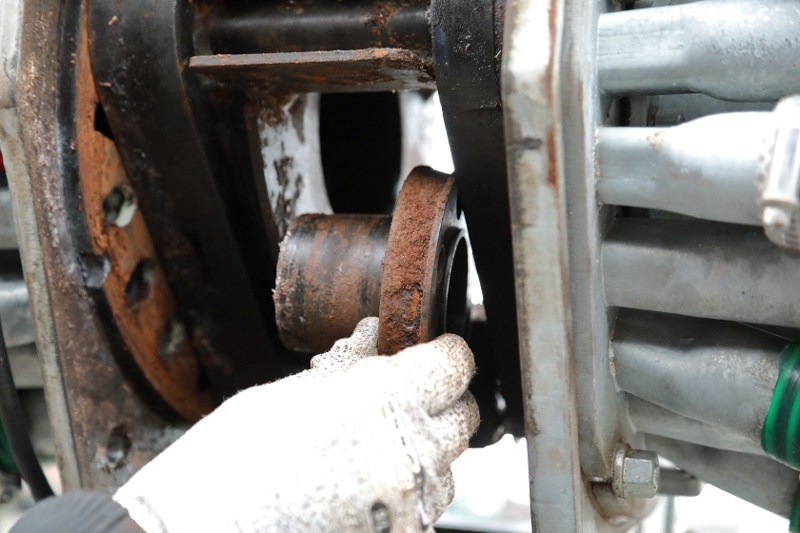
Now you can remove the plastic cap and take out the rubber seal. To remove the rotor adapter, loosen the three central screws.
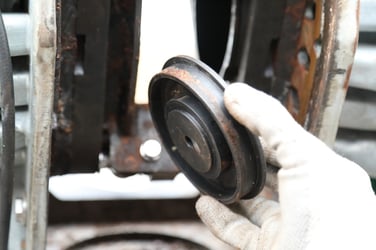
Our tip: For easy loosening of the rotor adapter, turn the screws just removed into the pull-off threads provided and push the rotor adapter off the rotor with the force of the screws. After the subsequent removal of the pull-off screws, the adapter can be removed.
Proceed similarly on the filling side. Loosen the three screws by turning the rotor continuously.
The adapter can then be removed with a mounting lever.
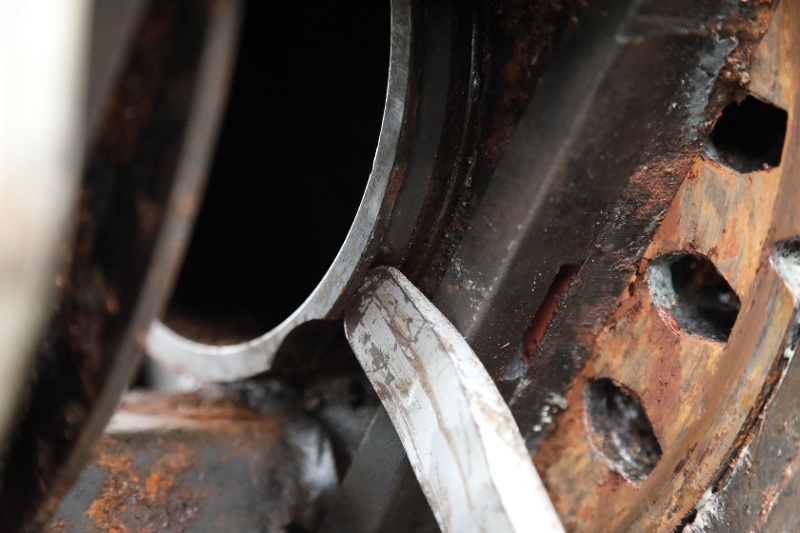
Our tip: Proceed with caution at this point, as the rotor is detached and can fall down into the housing.
3. Clean and reassemble individual parts
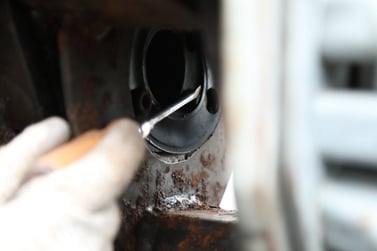
During the next step, remove the rotor to clean it as well as the air intake areas in the distributor. The air intake is particularly important for precise liquid manure spreading. This is because the liquid manure is only precisely spread via the discharge hoses if the air hoses are unobstructed.

By removing the rotor, you now also have easy access to the screens. Remove them and clean the contact
surfaces with water and a scraper.
After cleaning, insert a new seal together with the cutting screens back into the distributor.
Our tip: Make sure that the blade holders can move easily on the rotor. You should thoroughly remove any fibrous material that is between the blade holder and the rotor. To do this, slide the blade holders off the rotor and grease them for easy movement.
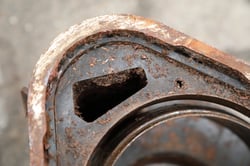
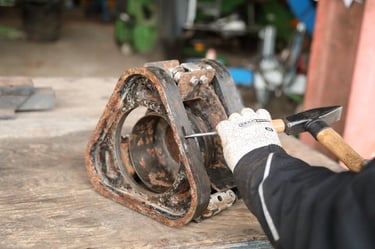
Once the individual parts have been cleaned, replace the wear parts. Knock the blades off the rotor (Fig. 16), then clean the contact surfaces and mount the new blades. Now you can reinsert the reconditioned rotor into the distributor and fasten it by means of an adapter.

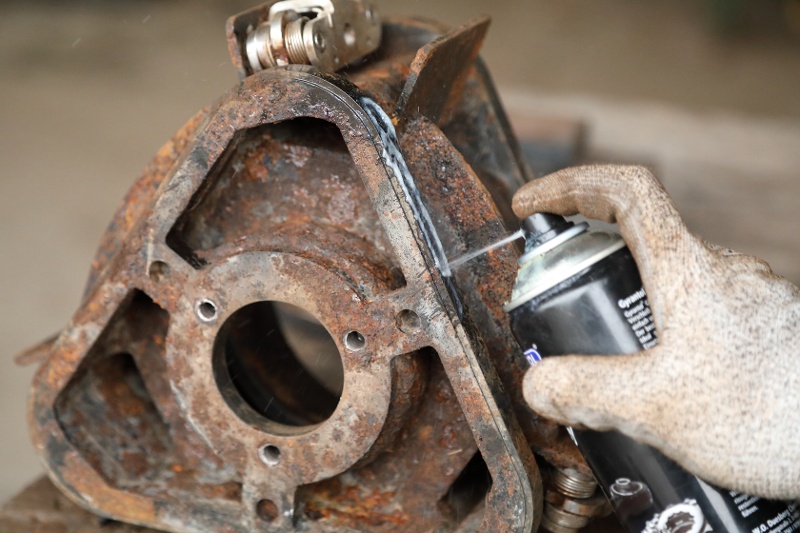
Our tip: If you lubricate highly used parts, such as screws, with anti-seize paste before assembling the individual parts, they will be protected against corrosion and wear for a long time.

Maintenance of the precision distributor is completed when the eccentric is clamped by releasing the clip plate in the eccentric adjuster and the maintenance hatch and stone trap are closed. This lays the foundation for even, precise liquid manure spreading.
Do you have any questions?
We will be happy to advise you! With our high-performance liquid manure spreading technologies and innovative components, we at Vogelsang offer a comprehensive solution portfolio for cost-effective liquid manuremanagement – from the production and processing of liquid manure to precise, low-emission distribution and nutrient-efficient use.
Learn more:
Vogelsang agricultural technology